
Popcorn ceilings — the stippled, textured finish sprayed onto ceilings in BC homes from the 1950s through the 1980s — date a room faster than almost anything else in it. They collect dust, they are nearly impossible to patch invisibly, and every crack shows. Removing the texture and finishing the ceiling smooth is one of the most satisfying updates you can make to an older Fraser Valley home — with one serious catch: in homes built before 1990, the texture itself can contain asbestos, and that changes everything about how the work has to be done. Here is what popcorn ceiling removal costs in BC in 2026, what the job actually involves, and the question you need answered before anyone picks up a scraper.
The short version: professional removal with a skim coat and a paint-ready finish runs $2–$5 per square foot in 2026. A typical single room runs $800–$2,000, and a whole main floor runs $3,000–$6,500. The alternative — covering the texture with new drywall instead of scraping it — runs $3–$6 per square foot. And if your home was built before 1990, none of those numbers apply until an asbestos test comes back clear.
1. Popcorn Ceiling Costs at a Glance
2026 BC planning ranges:
| Job | What it includes | 2026 planning range |
|---|---|---|
| Professional removal, per square foot | Containment, wet-scraping, skim coat, sanding, primer, paint-ready finish | $2–$5 per sq ft |
| Typical single room | One bedroom or living room, roughly 120–200 sq ft of ceiling | $800–$2,000 |
| Whole main floor | Main floor of a typical house, roughly 800–1,200 sq ft of ceiling | $3,000–$6,500 |
| Drywall over the texture | New drywall laminated over the existing ceiling, taped, filled and finished smooth | $3–$6 per sq ft |
Two things to understand about these numbers. First, the per-square-foot rate is not linear: a small bathroom costs more per foot than a big open-plan main floor, because the setup — masking, containment, protecting furniture — is roughly the same either way. Second, confirm what “finished” means in any quote. Some prices end at a primed, paint-ready ceiling; others include the final coats of paint, and that difference alone can move a room by a few hundred dollars.
2. What the Job Actually Involves
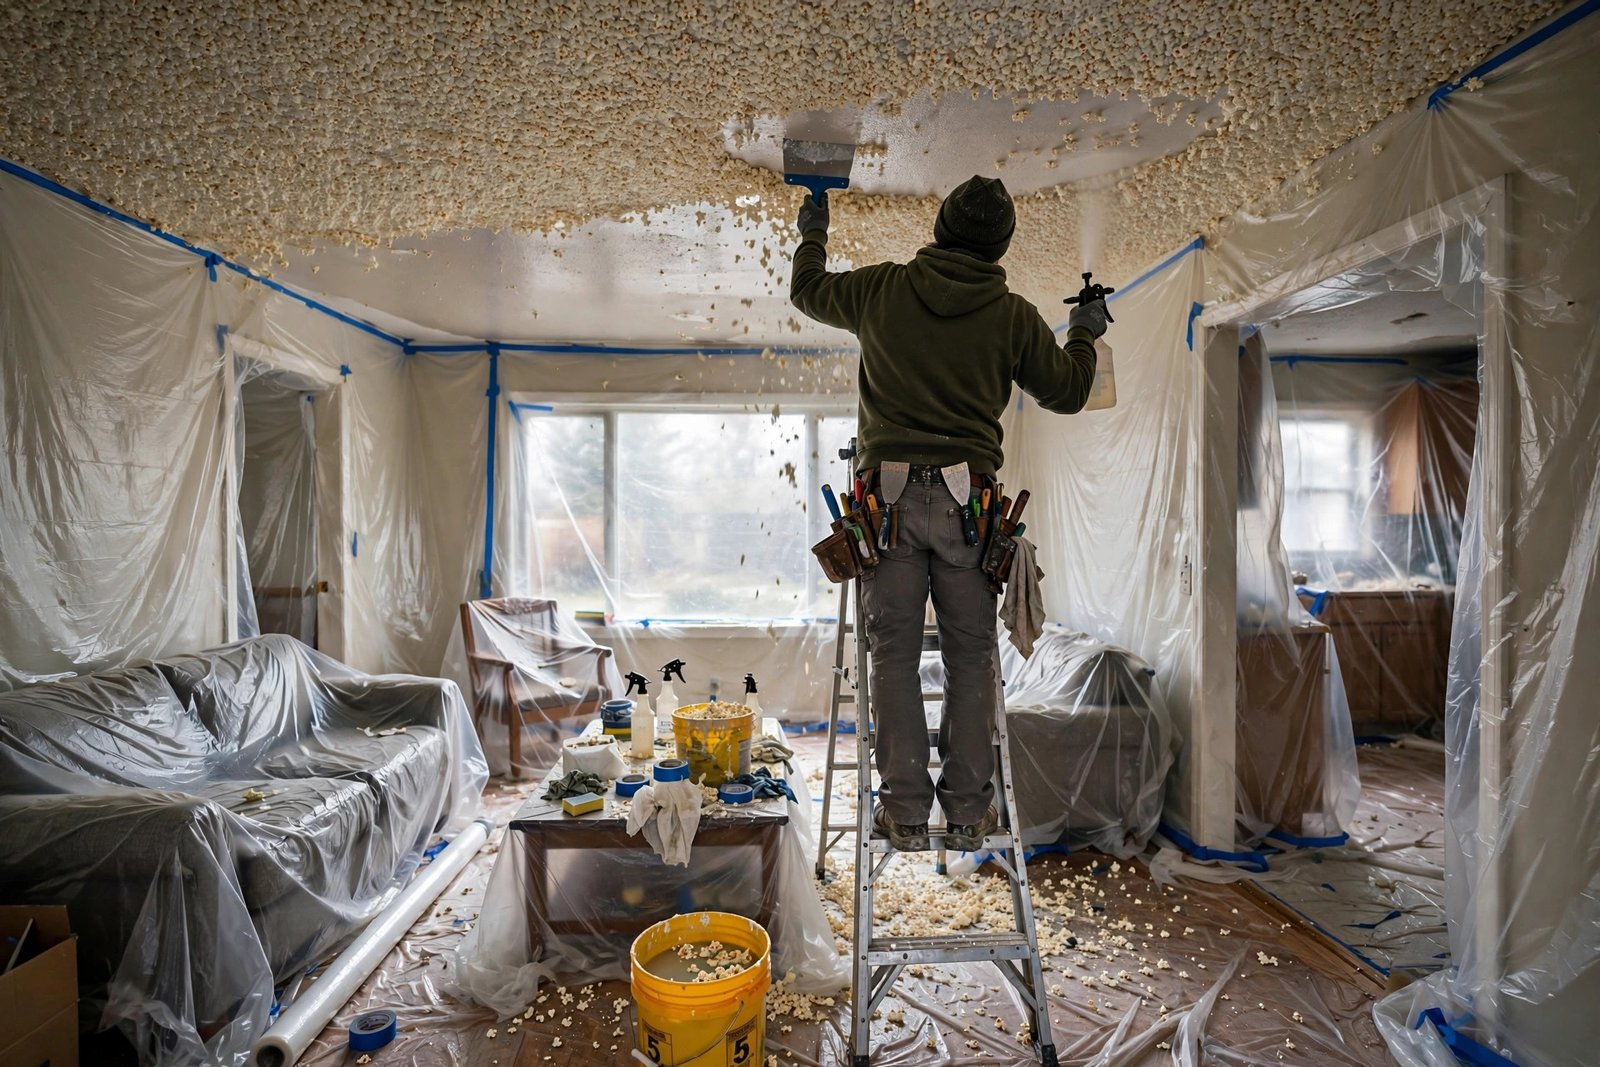
Popcorn removal sounds like a single task. Done properly, it is six:
- Test first. In any home built before 1990, a sample of the texture goes to a lab before work is booked. Section 3 explains why.
- Contain and protect. The room is emptied where possible; anything that stays is gathered in the centre and sealed under plastic. Floors, walls, vents and fixtures are masked, because wet texture debris goes everywhere it can.
- Wet-scrape. The texture is sprayed with water to soften it, then scraped off in sheets with wide drywall knives. Unpainted texture usually comes away willingly. Texture that has been painted over resists the water and takes much longer.
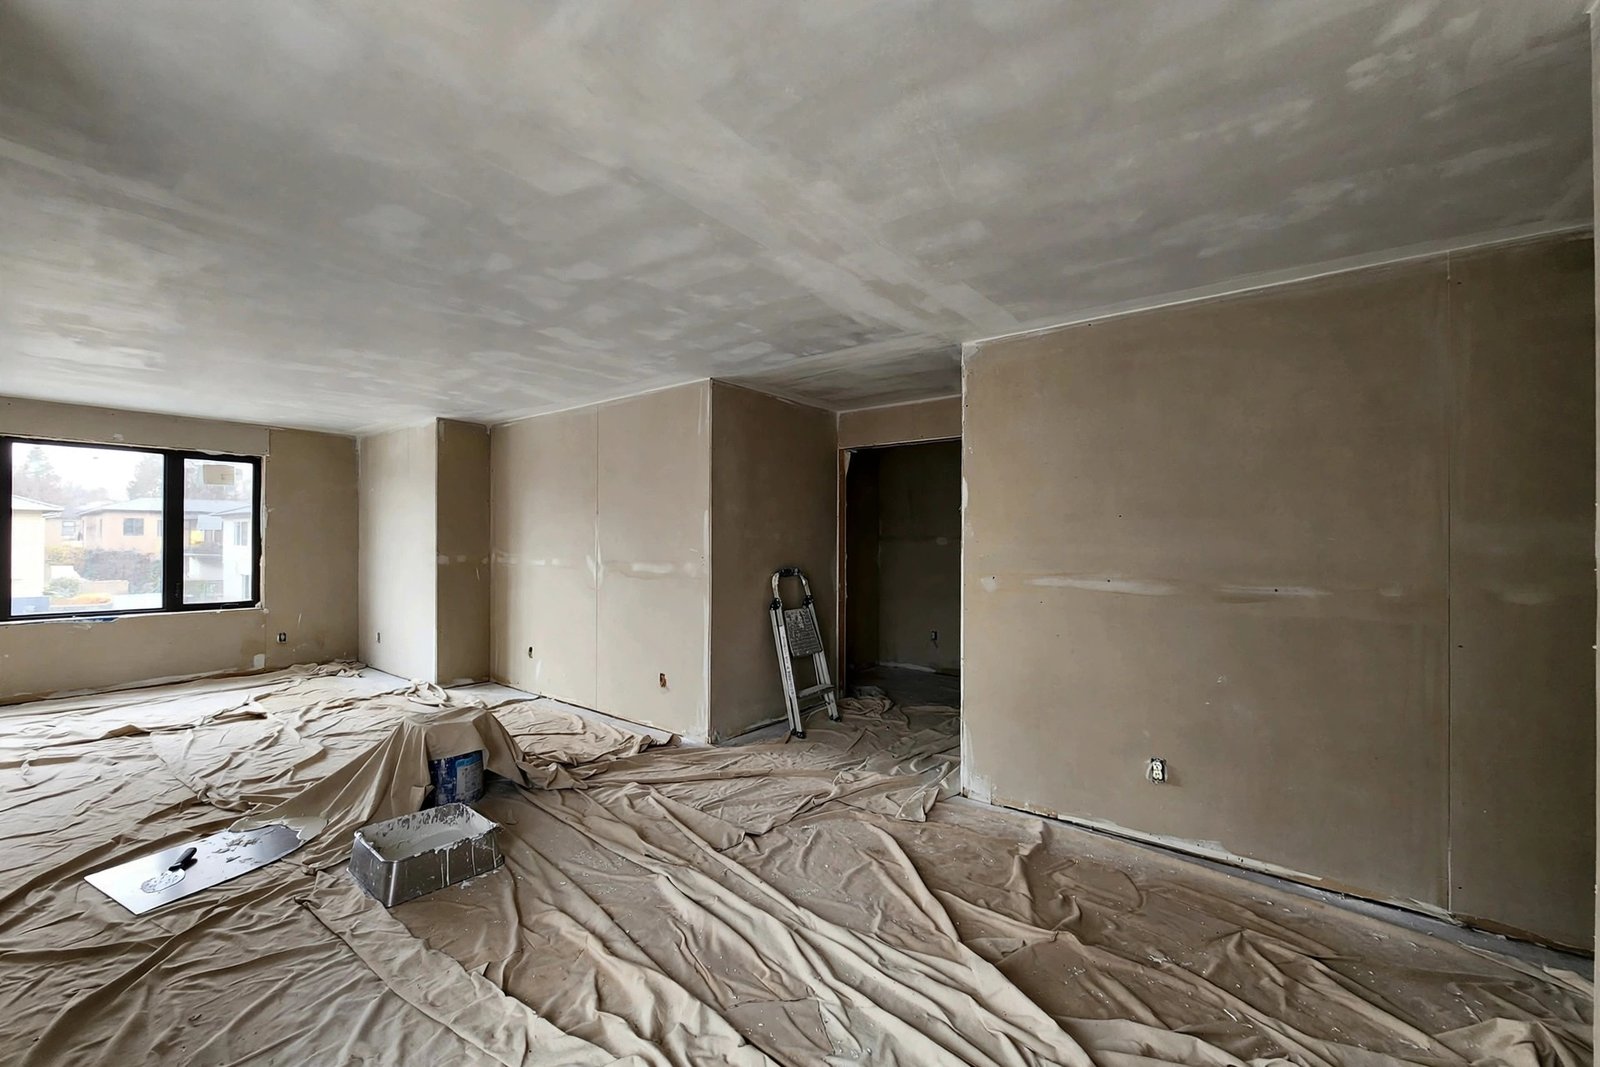
- Skim coat. Scraping leaves a surface full of nicks, gouges and the ghost of the stipple. The whole ceiling is skimmed with drywall compound to level it. This step, sometimes two thin coats, separates a genuinely smooth ceiling from a wavy one that shows every flaw when light rakes across it.
- Sand and prime. The skim coat is sanded smooth, then sealed with primer. Bare compound absorbs paint unevenly, so skipping primer shows up as patchy sheen in the finished ceiling.
- Paint. Two coats of ceiling paint complete the job. Many homeowners roll this into a wider room repaint — our interior house painting cost guide for Abbotsford covers what that adds.
The work is not technically complicated, but it is slow, messy and unforgiving of shortcuts — and the skim coat is skilled labour, the difference between a ceiling you forget about and one you stare at every evening.
3. The Asbestos Question
This is the section that matters most. Textured ceiling coatings applied in BC homes built before about 1990 can contain asbestos fibres mixed into the texture material. Not all of them do — plenty of pre-1990 ceilings test clean — but there is no way to tell by looking, and age alone is not proof either way. The only reliable answer is a lab test of a sample.
WorkSafeBC rules require suspect material to be tested before it is disturbed, and scraping a ceiling is exactly the kind of disturbance those rules exist for. Dry-scraping asbestos-containing texture releases fibres into the air of the room, where they settle into carpets, furniture and ducting. That is why the sequence is test first, scrape second — never the other way around.
If the test comes back positive, the job stops being a decorating project. It becomes a regulated asbestos abatement: the work has to be done under asbestos controls, with proper containment, protective equipment and regulated disposal, by people equipped and qualified to do it. That costs substantially more than standard removal, so it makes no sense to budget from the ranges in this guide. Our asbestos testing and removal cost guide for BC has the testing and abatement numbers laid out properly.
The practical takeaway: a test costs little compared to the rest of this project, and it buys certainty. Post-1990, the risk is very low, though a test is still cheap peace of mind if the ceiling’s history is unclear. Pre-1990, treat the test as step one of the job, not an optional extra.
4. Scrape It or Drywall Over It?
There is a second way to get a smooth ceiling: leave the texture where it is and laminate new drywall directly over it, then tape, fill and finish the new surface. It runs $3–$6 per square foot — at the top of the range it can cost more than scraping.
Why choose it? Three reasons come up most. First, it avoids disturbing the texture at all, which makes it a common choice when a test has come back positive and the ceiling is otherwise sound — the texture stays sealed in place instead of being removed, though confirm the approach meets WorkSafeBC requirements for your situation before going ahead. Second, painted-over texture that refuses to soften can take so long to scrape that covering it is simply faster. Third, a ceiling that is cracked or uneven gets a fresh, flat surface in one step. Our drywall installation and repair cost guide for BC breaks down how drywall work is priced.
The trade-offs are real, though. You lose a small amount of ceiling height (around 12–15 mm, which most rooms can spare), fixtures and vents may need extensions to sit flush, and if the existing ceiling is sagging or water-damaged, covering it hides the problem rather than fixing it. Rule of thumb: scrape when the test is clear and the texture is unpainted; consider covering when the texture is painted, the test is positive, or the ceiling itself is in rough shape.
5. What Pushes the Price Up or Down
- Ceiling height. A standard 2.4 m ceiling is ladder work. Vaulted or stairwell ceilings, and anything over about 3 m, need scaffolding or lifts and push the price to the top of the range.
- Paint over the texture. The single biggest variable. Texture sealed under paint will not soften properly with water, and scraping time can double. Expect the high end of the per-foot range, or a serious conversation about drywalling over it.
- Furniture and access. An empty room is the cheapest version of this job. Furniture that has to be moved out, stored and brought back — or worked around under plastic in the centre of the room — adds labour at both ends.
- What is hiding underneath. Scraping sometimes reveals cracked tape joints, old water stains or patched areas that were invisible under the texture. Those repairs happen before the skim coat, and they add to the bill.
- Finish level. A paint-ready skim coat is the baseline. Adding the primer and two finish coats, choosing a higher-sheen paint (which shows every remaining flaw and demands more prep), or matching a perfectly flat level-5 finish all cost more.
6. Frequently Asked Questions
How much does it cost to remove a popcorn ceiling in BC? Professional removal with a skim coat and paint-ready finish runs $2–$5 per square foot in 2026. A typical single room runs $800–$2,000, and a whole main floor runs $3,000–$6,500. Covering the texture with new drywall instead runs $3–$6 per square foot. These are planning ranges, not quotes; painted texture and tall ceilings land at the top.
Can I remove a popcorn ceiling myself? In a newer home, or an older one with a clear asbestos test, yes — it is messy, slow work, but well within a patient DIYer’s ability. In a pre-1990 home, do not touch the ceiling until it has been tested. If asbestos is present, removal is regulated abatement work, not a weekend project — leave it to qualified abatement contractors.
Does my popcorn ceiling contain asbestos? Age is the main clue: textured coatings in BC homes built before about 1990 can contain asbestos, while later texture almost never does. But appearance tells you nothing, and even age is not proof. Only a lab test can confirm it — and WorkSafeBC rules require that test before suspect material is disturbed.
How long does popcorn ceiling removal take? A single room typically takes two to three days, most of it drying time between skim coats rather than active labour. A whole main floor usually takes about a week of working days. Painted-over texture, repairs found along the way, and whether final painting is included all stretch the schedule.
Can I just paint over a popcorn ceiling instead? You can. Spraying is the practical method, because a roller tends to pull the texture off in patches. But painting does not remove the dated look, it makes the texture harder to scrape later, and every future removal quote will price in the painted-texture premium. Most homeowners who paint it end up paying to remove it later anyway.
Thinking About Losing the Popcorn Ceiling?
Start with the test if your home predates 1990, then decide between scraping and drywalling over — the right answer depends on the texture, the test result and the ceiling underneath. If you would like a second set of eyes on your ceilings, call us at (236) 613-0038 and we will talk through what your home is showing you and the realistic options — no pressure, just straight answers.