
Every basement in the Fraser Valley has the same three problems: low ceilings, small windows, and that flat, cave-like feeling no amount of paint seems to fix. Most finished basements fail on lighting because they get exactly one layer of it — a grid of pot lights on a single switch — and one layer of light makes any room feel institutional.
The fix is layered lighting: ambient, task, and accent working together, tuned to the right colour temperature, and paired with surfaces that bounce light instead of swallowing it. Here is how to light a basement properly, what it costs as 2026 planning ranges, and the code and electrical realities to know before you start.
1. Start With the Plan, Not the Fixtures
Before you buy a single light, map the basement. By activity, not by room. Where will people read? Where does the TV go? Kids play where? Every zone needs a layer of its own:
- Ambient: the general fill. Pot lights do it. So do flush-mount fixtures — on dimmers, either way.
- Task: light with a job. It lands where eyes work — reading chairs, desks, the laundry folding counter, a workshop bench.
- Accent: the layer that makes a basement feel designed rather than merely lit. Wall washing. LED strips tucked into coves or under floating shelves. Picture lights.
One switch per layer, per zone. Wire the whole floor to a single switch and you’ve made the biggest lighting mistake in basements — the choice becomes interrogation-room bright or pitch dark, nothing in between. Dimmers on every circuit aren’t optional. They’re the cheapest luxury in the whole project. And label each one during finishing. Six months later, nobody remembers which slider runs the pot lights and which runs the strips.
2. Pot Lights: The Workhorse, Done Right
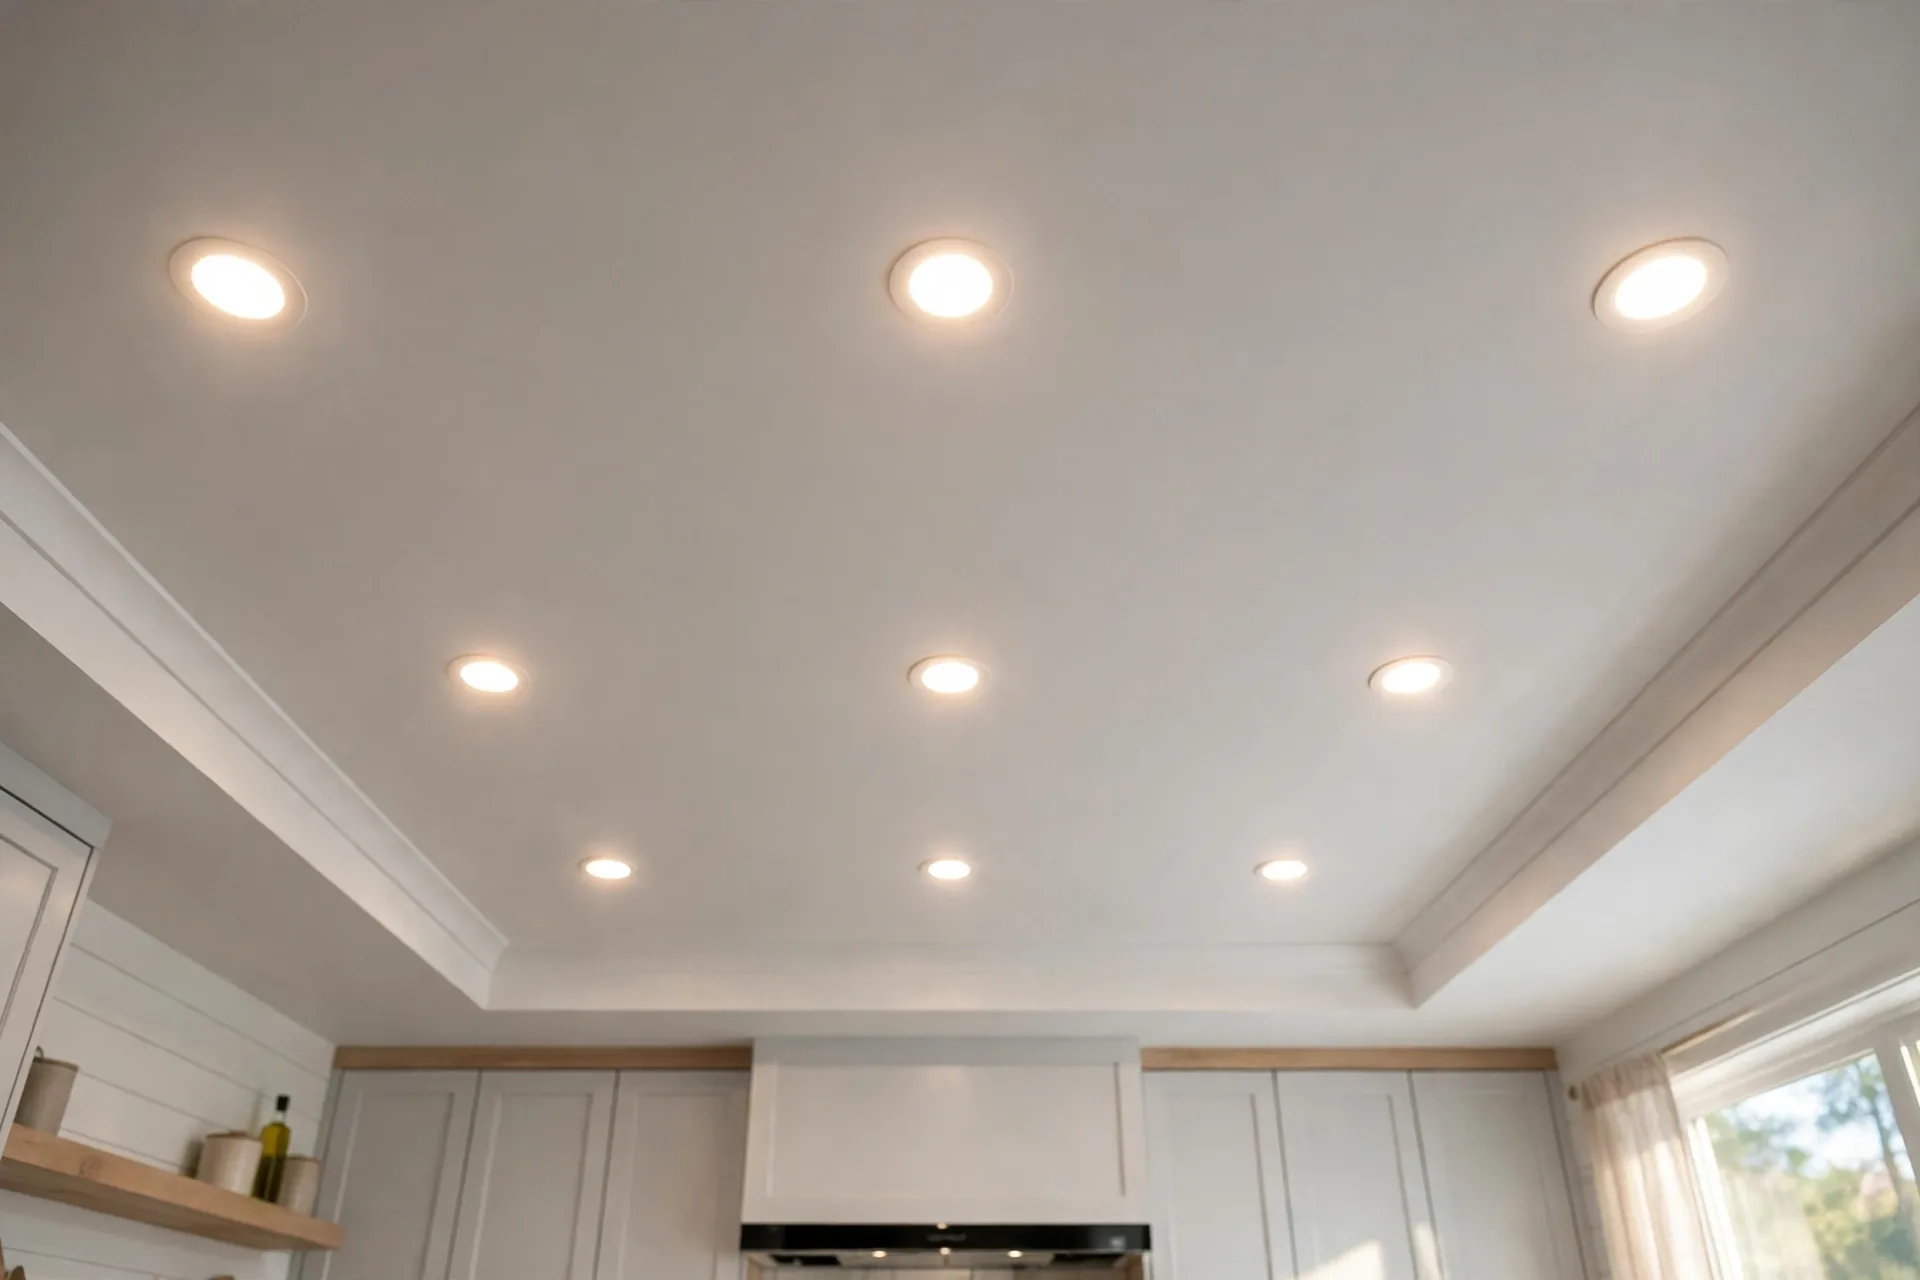
Pot lights are the default basement ambient light, and the reason is simple: they cost you zero visual height. That matters with 7-foot ceilings. Get them right and they disappear. Get them wrong and you get the dreaded “runway” — a rigid grid that points straight at how low the ceiling is.
Rules that matter:
- Spacing: roughly one light per 25–30 sq ft of general ambient. Place them to wash the walls, not in a strict grid. And offset that grid — lights should land between furniture groupings, never dead centre over them.
- Trim choice: go baffle. The stepped interior cuts glare far better than a basic reflector trim — and in a TV room, glare control is pretty much everything.
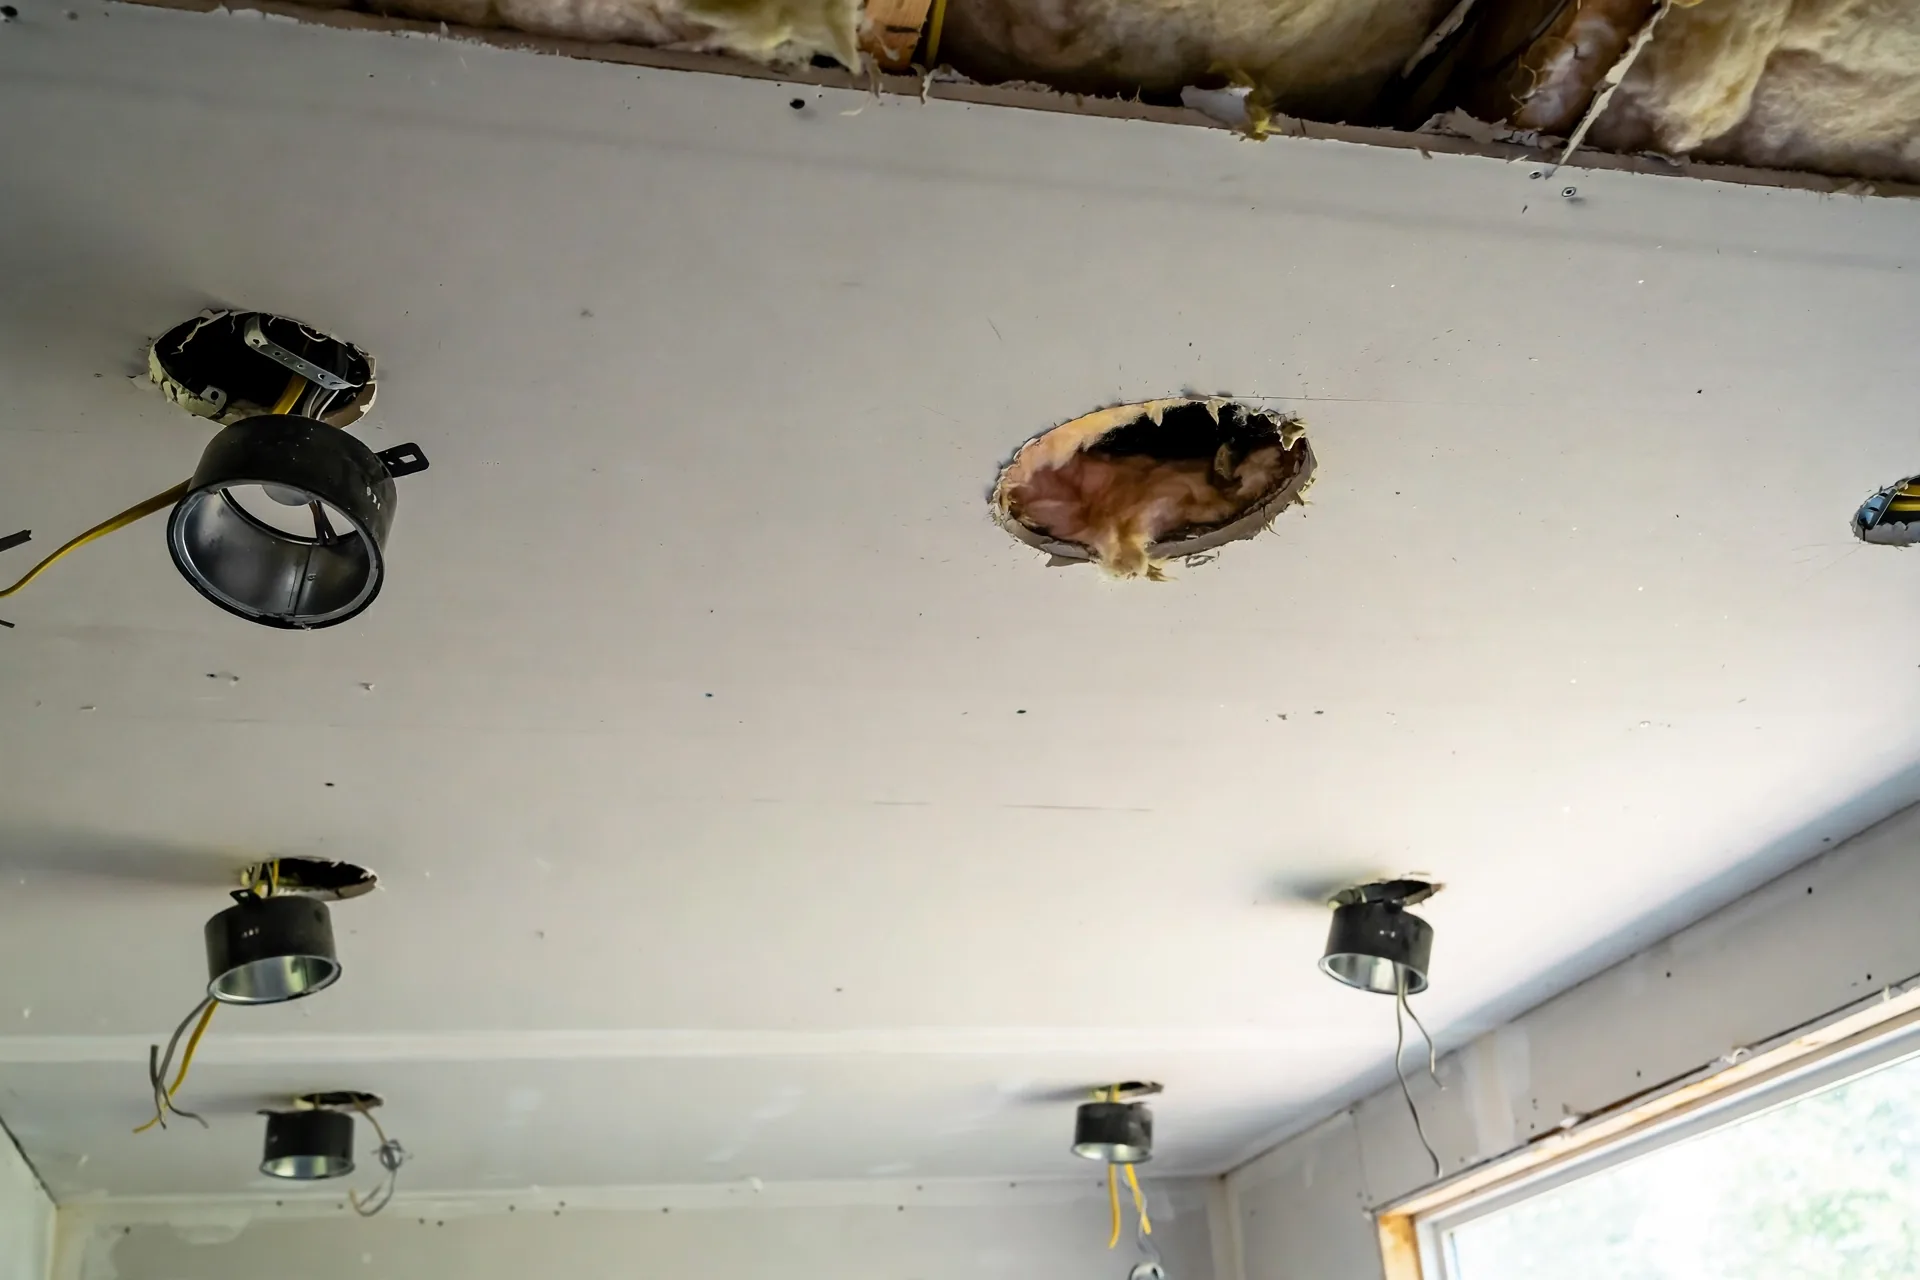
- IC-rated, sealed housings: required wherever insulation touches the fixture, which is most basement ceilings. Seal around them, too. An unsealed can isn’t just a fixture — it’s a hole punched in your sound and thermal envelope.
- Hire a licensed electrician. New circuits. New boxes. Penetrations through joists. That’s what pot lights actually involve, and in BC it needs permits and inspection. YouTube is not the place to learn it.
2026 planning range: $150–$300 per pot light installed, including the fixture, wiring, and patching. A typical basement rec room with 8–10 lights runs $1,500–$3,000 in electrical.
3. Steal Every Bit of Daylight: Egress Windows
Actual daylight beats every fixture on this page. Basement bedrooms have a code reason to chase it, too: bedrooms in BC require an egress window or door opening directly to the exterior. That’s life safety, not a design preference. So if a bedroom is in your finishing plan, the egress window isn’t optional — make it generous.
Not a bedroom? Enlarging those small existing basement windows still pays off — out of all proportion to the cost. Go bigger on the window well, paint its walls a light colour, and daylight bounces surprisingly deep into the room. Window well covers keep the wells clean and dry in our wet winters — a small detail that keeps the daylight coming.
2026 planning range: cutting in a new egress window (concrete cutting, window, well, drainage) typically runs $3,000–$6,000 as a planning range. Enlarging an existing window costs less. Either way, it needs a building permit — structural opening in a foundation wall is not a weekend project.
4. Colour Temperature: The 3000K Rule
Colour temperature is measured in Kelvin. It decides whether your basement feels like a living room — or a dentist’s office. The scale:
| Temperature | Feel | Where it belongs |
|---|---|---|
| 2700K | Warm, amber | Living areas, bedrooms — cozy and flattering |
| 3000K | Warm-neutral white | The basement sweet spot — clean but still warm |
| 3500K | Neutral | Laundry, workshop — task clarity |
| 4000K+ | Cool, bluish | Offices only; feels cold in living spaces |
The rule: 3000K for basement living spaces, dimmable. Mix temperatures in one open space and it looks wrong. The eye reads it as a mistake, every time. So buy every bulb and fixture at the same temperature, and read the box before it goes in the cart: “daylight” bulbs (5000K+) are the fastest way to make a finished basement feel unfinished.
One more spec on the box: CRI (Colour Rendering Index). Cheap LEDs sit at CRI 80, and they make wood tones and skin look flat. CRI 90+ costs little more. The whole room looks richer for it — paint colours read true instead of muddy.
5. Surfaces That Multiply Your Light
Lighting doesn’t work alone. Every surface down there either hands light back to the room or swallows it. And natural light is limited, so your surface choices are part of the lighting plan — treat them that way:
- Ceilings: flat white, always. A coloured basement ceiling eats light; white bounces it. This is not the room for a moody dark ceiling.
- Walls: light, warm tones in eggshell or satin — flat paint reflects less, the slight sheen gives some back. Which warm neutrals actually work in low natural light? Our 2026 paint colour guide sorts through them.
- Flooring: light-toned LVP or laminate. Either one reflects far more than dark carpet does. Our best basement flooring guide covers the moisture-safe options — the ones that brighten the room while they’re at it.
- Mirrors and glass: hang a large mirror opposite a window and you double the window’s effect. Glass-panel interior doors do something similar — they borrow light from the next room over.
The multiplier is real. Same 8 pot lights. Put them in a white-ceiling, light-floor basement instead of a dark-finished one, and it can feel like twice the light.
6. Accent Lighting: The Layer That Makes It Feel Finished
Ambient handled? Task handled? Accent is what’s left — and it’s the layer that separates a designed basement from a merely finished one. None of these are expensive:
- LED strip in a cove or tray ceiling: a perimeter glow. It makes the ceiling feel higher than it is, and dimmable strips run $200–$600 installed per room.
- Under-shelf and under-cabinet strips: put them in a basement bar or an office nook. Task light while you work, evening ambience after — one strip, both jobs.
- Wall washers: adjustable gimbal pot lights, aimed at a feature wall — stone, shiplap, built-ins — instead of straight down at the floor.
- Floor and table lamps: the humble lamp is underrated in basements — a pair of table lamps on dimmers gives a living room its evening mode that overheads never will.
Accents go on their own dimmers, separate from the ambient layer. Evenings are why: accents low, overheads off. That’s the setting that makes a basement feel like the best room in the house — not the overflow room.
7. Smart Controls Worth Having
A basement is the ideal place for smart lighting controls, because the use patterns are predictable and the payoff is daily:
- Motion sensors in the laundry room, storage areas, and hallways. The lights turn themselves off — and the “who left the basement lights on” era ends with them.
- Smart dimmers on the main living zones. Set an evening scene — movie night, reading, entertaining — from your phone or a wall keypad. No more juggling four dimmer sliders.
- Vacation mode — the schedule randomizes itself, so an empty house looks lived in. Especially useful if your basement has a separate entrance.
One ecosystem. Not three competing apps — keep it that simple. And wire a conventional switch location for every smart control — future owners and Luddite guests will thank you.
Frequently Asked Questions
How many pot lights do I need in a basement?
Roughly one per 25–30 square feet for general ambient light. So a 400 sq ft rec room lands around 12–16 — arranged to wash the walls, not locked into a rigid grid. Treat that as a starting rule, though. High ceilings need more. Dark finishes, too. So do task-heavy zones like a workshop or laundry. Get your electrician to lay the plan out on the reflected ceiling drawing before rough-in — not after the drywall is up.
What colour temperature is best for basement lighting?
3000K, dimmable, throughout the living spaces. Clean white, but no cold blue cast — that’s what you avoid with 4000K+ “daylight” bulbs. Task zones are the exception: laundry, a workshop bench, those get 3500K. Otherwise, one temperature per open area. And pick CRI 90+ bulbs, so colours render the way they should.
Do basement bedrooms legally need an egress window in BC?
Yes. BC Building Code requires every bedroom to have an egress window or door opening directly to the exterior for emergency escape. Cutting a new egress opening in a foundation wall needs a building permit. Size and sill-height requirements apply — confirm the specifics with the City of Abbotsford Building Department for your project rather than guessing.
Can I install basement pot lights myself?
The electrical work should be done by a licensed electrician with proper permits and inspection. New circuits, junction boxes, and penetrations through joists are regulated work in BC. You can save money on the parts you are qualified for — painting, installing surface-mount fixtures after rough-in, patching — but leave the rough-in wiring to a pro.
How much does basement lighting cost overall?
As a 2026 planning range: $2,500–$6,000 for a typical finished basement’s full lighting package. Pot lights on dimmers, a few task and accent layers, LED strips — that’s the package, and it excludes any new egress window work. An egress window adds $3,000–$6,000. For the whole project budget, see our basement finishing cost per square foot guide.
Why does my finished basement still feel dark with plenty of lights?
Usually one of three things: wrong colour temperature, dark surfaces, or a single lighting layer. Daylight-temperature bulbs (5000K) don’t feel bright — they feel harsh. Dark ceilings and floors absorb the light you paid for. And one grid of overheads, no dimmers, no accent layer? Flat. Fix the temperature first — it’s the cheapest. Then the surfaces. Then add a dimmer and one accent layer.
Light It Like You Live There
The basements people love have three things: light at multiple levels, one warm colour temperature, and surfaces that give the light back. Plan the layers before rough-in, put everything on dimmers, steal every bit of daylight the code and your foundation allow, and keep the palette light.
If lighting is part of a full basement project, start with our basement finishing ideas to plan the layout, then look at basement finishing services to have the electrical, drywall, and finishes handled as one coordinated job — because the best lighting plan in the world still needs to be roughed in before the drywall goes up.
Electrical and structural work requires permits and inspection — confirm requirements with the City of Abbotsford Building Department and use licensed professionals.