
Do the math first. Test first, too.
Trying to pin down the radon mitigation cost BC homeowners actually pay? The honest answer doesn’t start with a quote off the internet. It starts with a number from your own house. Radon is invisible. No smell. Nothing to see.
You can’t guess it. Not from the age of your home in Abbotsford or Chilliwack. Not from your neighbour’s result either. That last one trips people up, over and over.
Levels vary house to house. Same street, different numbers. Two bungalows, built the same year, sitting in the same Fraser Valley neighbourhood, can test completely differently. One reads low.
The next one over? High enough that Health Canada says you should act.
Health Canada sets its radon guideline at 200 Bq/m³. Above that level, Health Canada recommends you reduce radon in your home. And Health Canada recommends that all homes test for radon. No matter where they sit in BC. So test. Read your real result. Then decide how much mitigation your house actually needs, not how much a salesperson thinks it needs.
Start With the Test, Not the System
Plenty of people search for radon remediation cost and jump straight to system prices. Slow down.
A system for a house that doesn’t need one? Money wasted. And a cheap patch on a house with a high reading is worse. Worse because it hands you confidence you haven’t earned.
Radon testing cost BC wide is the smallest line in this whole project. A do it yourself kit usually runs $30 to $60. You place it. You leave it for the period the instructions call for. Then you mail it to a lab.
Longer term testing gives a better picture. Especially here, where Fraser Valley winter rain keeps houses closed up for weeks at a time.
A professional test costs more. Usually $150 to $300. What you get for that is proper placement, plus a result that’s easier to trust if you’re buying or selling. And if your DIY result lands near or above 200 Bq/m³? A pro test is cheap confirmation. Cheap, compared with spending thousands on mitigation you haven’t confirmed yet.
What a Radon Mitigation Cost BC Quote Actually Covers
When people say radon mitigation cost BC, they usually mean one main system. Sub-slab depressurization.
The name sounds complicated. The idea isn’t.
A contractor drills a suction point through your basement slab. Then a pipe goes up and out of the house, with an inline fan on it, and that fan pulls radon laden air from under the slab and vents it outside, above the roofline, where it disperses. So instead of radon seeping up through cracks into your living space, it gets collected below the floor. Pushed out before it ever gets in.
What you pay for that system depends on a few things. How hard the slab is to work with. How many suction points you need. How difficult the pipe run turns out to be.
A straight run up an exterior wall in a newer Abbotsford home is one job. A finished basement in an older Langley house is another one entirely, with a pipe threading past ductwork under a low ceiling. Same system name. Very different labour.
Other pieces get quoted alongside it. Sealing. A manometer to show the system is pulling. Sometimes electrical work for the fan. Ask for those pieces broken out. In writing.
The Full Cost Table for 2026
These are planning ranges in Canadian dollars for 2026, not quotes for your house.
| Work item | Typical 2026 BC planning range | What to know |
|---|---|---|
| DIY radon test kit | $30 to $60 | Lab fee often included, check before you buy |
| Professional radon test | $150 to $300 | Useful for sales and confirming a high DIY result |
| Sealing cracks and joints only | $300 to $800 | Helps a system work better, rarely enough alone |
| Sub-slab depressurization system, installed | $2,000 to $3,500 typical | Full range often $1,800 to $4,500 |
| Replacement radon fan | $200 to $400 plus labour | Fans are wear items, not lifetime parts |
| Post-mitigation retest | Kit or pro test cost as above | Do not skip it, it proves the system worked |
That $1,800 to $4,500 range is wide. Houses differ, that’s why.
Gravel under the slab that moves air easily? One suction point can do the job. Tight soil, or a slab poured in sections, can mean more drilling. And finished basements cost more to work in than open ones do. Always.
A quote comes in far below that range? Ask hard questions. Is the fan sized right. Is sealing included. Is a retest included.
Why Sealing Alone Rarely Solves It
Sealing sounds attractive. It’s cheaper.
$300 to $800 to caulk cracks, seal the sump lid, and close gaps around pipes. And sealing does help, don’t get me wrong. Every installer worth hiring will seal as part of the job. A sealed slab lets the fan pull more evenly from underneath it, so the sealing earns its place.
But alone? It almost never drops a high reading enough on its own.
Radon finds paths. A hairline crack you missed. The joint where the floor meets the wall. The gap around a floor drain. You’d have to make a slab perfectly airtight to stop it that way, and older Fraser Valley housing stock simply wasn’t built that way.
So treat sealing as a supporting step. Not the fix. Retest after any sealing only work. And with a reading well above 200 Bq/m³, you’ll usually end up pricing the full system anyway.
The Sump Pit Connection Most People Miss
Here’s where radon work meets basement work. It matters for cost.
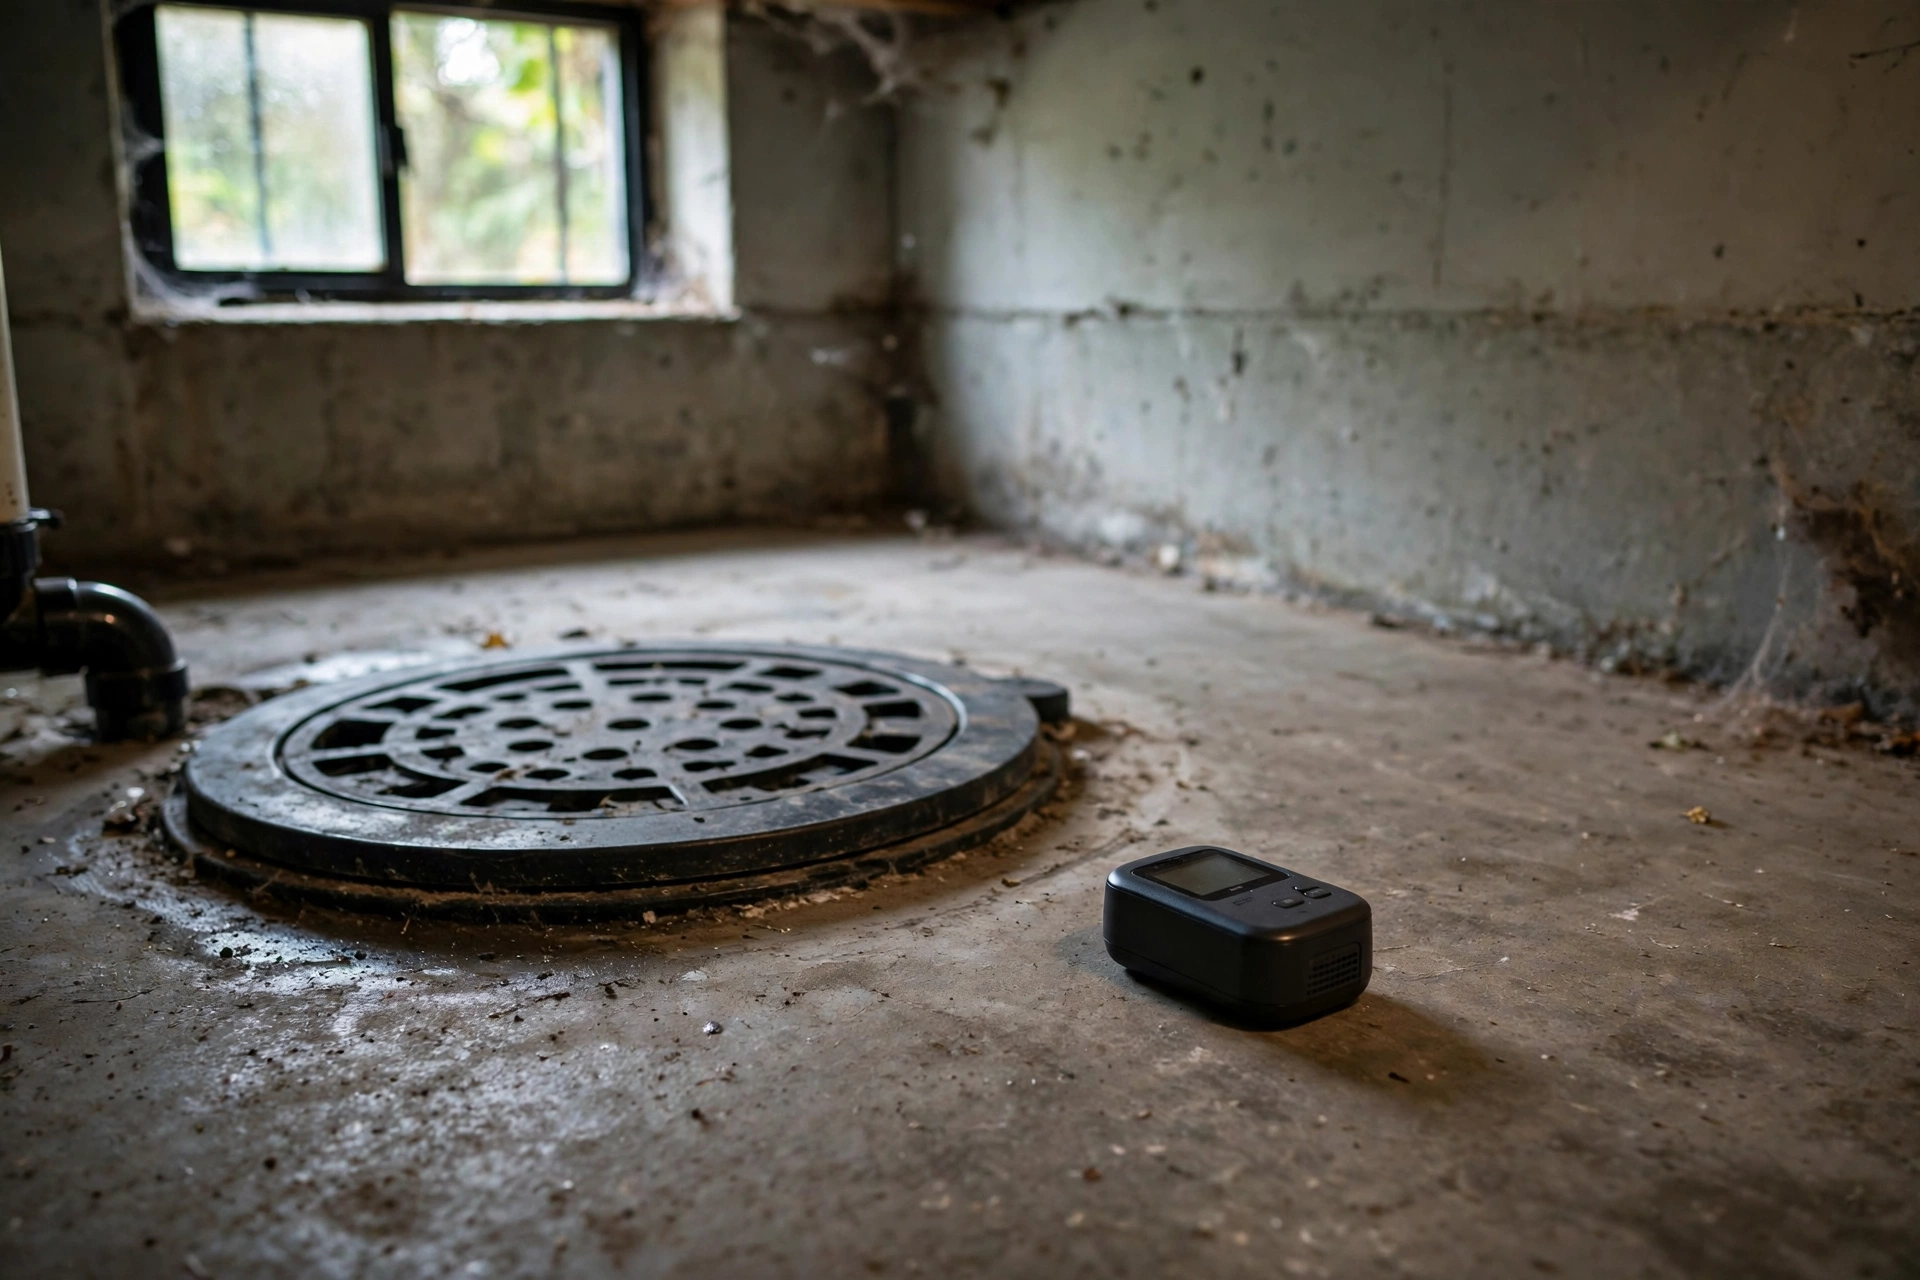
Many BC basements already have a sump pit. That pit is a direct opening into the soil under your foundation. Which makes it a natural radon entry point. It also makes it a natural collection point for a mitigation system.
In some houses, the mitigation pipe can work from the sump area. That can simplify the install. In others, the sump needs a proper sealed cover first, so the fan isn’t just pulling warm house air down and out.
Either way, if you’re already thinking about keeping your basement dry with proper waterproofing or pricing out a new sump pump for a wet Fraser Valley basement, line those conversations up together. Slab and sump work done in the wrong order can mean drilling twice. Nobody wants to pay for drilling twice.
Tell any contractor who quotes you a few things upfront. If your basement has flooded. If the sump runs often in heavy October rain. If you’ve had interior drain tile work done. That history changes the plan. It can save a second visit, too.
What Pushes Your Price Up or Down
Access is the big one.
An unfinished basement with an open ceiling is faster to work in. A finished basement, drywall and pot lights and all, isn’t. Expect to pay for the cutting and patching that finished space demands.
Foundation type matters next. One single large slab is simpler. A house with a crawl space, a slab section, and an addition, all sitting at different levels, is not. Crawl spaces need a different approach altogether, often a membrane laid over the soil and sealed, with suction from below it.
Electrical can add a bit. No handy outlet near the pipe run, that’s why. House size plays a role too, though not in a straight per square foot way. A sprawling rancher may need a stronger fan. Or a second suction point. A compact two storey may need neither.
DIY Testing, Pro Installation, and Where to Draw the Line
Testing is a perfect DIY step. Mitigation isn’t. Not for most people.
You can buy a test kit yourself. Place it yourself. You can seal small, obvious cracks yourself too, if you’re handy. But designing suction, sizing a fan, drilling a slab without hitting plumbing, and then proving the result with a retest? That’s pro work. If the number doesn’t drop, the install isn’t done. Doesn’t matter how tidy the pipe looks.
Selling changes the math as well. A documented pro install, with before and after results, is far more convincing to a buyer than a receipt for a fan you put in yourself.
Hold a small contingency, too. Older homes hide things. A thicker slab than expected. A footing where you didn’t expect one. And glance at your manometer now and then, the same way you’d check a sump pump before the rainy season. Fans run continuously. They wear out.
Radon Questions: Frequently Asked Questions
How long should I test for radon before I decide on mitigation? Health Canada guidance favours longer term testing. Typically at least three months. Ideally during the heating season, when the house is closed up. A short test can flag a problem, sure. A longer test gives you a more reliable average, though. And if a short test reads very high? Talk to a pro sooner. Don’t wait months.
Can sealing cracks alone bring radon below 200 Bq/m³? Occasionally, yes. It helps a borderline reading. But a clearly high result? It rarely fixes that on its own. Sealing works best as part of a full sub-slab depressurization system, where it helps the fan pull evenly across the slab. Always retest after sealing only work. That’s how you know what actually changed.
Does every Fraser Valley home have a radon problem? No. And that’s exactly why testing matters more than guessing. Levels vary house to house, even on the same street, so the only way to know your level is to test your home. Health Canada recommends all homes test. Regardless of neighbourhood.
How long does a mitigation system take to install? Many straightforward slab installs are done in a single day. Finished basements or complex pipe runs can take longer. Ask your installer for a clear timeline before work starts, including when you can retest. Then, once the system has had time to stabilize, a post-mitigation test should follow.
Will a radon system hurt a future sale of my home? In practice, no. A documented system with passing retest results usually helps rather than hurts, because it answers a buyer’s concern with proof. Keep your before and after test reports together. Keep the install paperwork with them. Buyers in BC see these systems more often now. They understand what they do.
Your Next Step on Radon in Your BC Home
Start with the test. That’s it.
Don’t price a full system in your head for a month. And don’t ignore the whole thing because a neighbour tested low last year. Order a kit. Or book a pro test this week. Place it properly, and let your own house give you the number.
Once you have it, the radon mitigation cost BC decision gets simple. You’ll know if you need sealing. Or a full sub-slab system. Or nothing more than a retest in a few years. If your result is at or above 200 Bq/m³ and you want help understanding a quote, or planning basement work alongside mitigation, call (236) 613-0038 and talk it through before you sign anything.