
Pot lights are the quietest upgrade in home renovation. No demolition drama. No weeks of dust. And a living room that feels finished in a single day. But recessed lighting installation cost BC-wide hides more moving parts than the fixture price lets on. The gap between a $150-per-light job and a $450-per-light job? Almost entirely what’s above the ceiling. Not what’s in the box.
For 2026, the shape looks like this. Straightforward retrofits into accessible attics land at $150–$250 per light. Difficult retrofits, no attic access or old wiring, run $250–$450 per light. And new construction or open-ceiling renovations, where the electrician gets in before drywall, sit at $100–$180 per light. The fixtures? Cheapest line on the whole bill.
Recessed Lighting Installation Cost BC: The Per-Light Table
Electricians quote pot lights per opening. And the table below mirrors what Fraser Valley electricians actually charge, installed, fixture included, in 2026.
| Scenario | What’s involved | 2026 planning range per light |
|---|---|---|
| New construction / open ceiling | Housings wired before drywall, easy access | $100–$180 |
| Retrofit with attic access | Fish wires through attic, cut openings from below | $150–$250 |
| Retrofit, no attic access (flat roof, finished floor above) | Wires fished through finished ceiling, patching needed | $250–$450 |
| Exterior soffit pot lights | Weather-rated housings, outdoor circuit | $200–$350 |
| Adding a dimmer switch | Dimmer compatible with LED fixtures, one circuit | $120–$200 per switch |
Six lights in a living room with attic access: roughly $900–$1,500. The same six lights in a main floor with a finished bedroom above: $1,500–$2,700, and some drywall patching afterward. The ceiling situation is the budget. Everything else is small change by comparison.
A decent LED retrofit pot light runs $25–$60 at a BC supply house. That’s the kind that clicks into a standard housing. Or mounts direct to the joist. The rest is labour. Cutting the opening. Fishing the wire. Making the connections. And doing all of it without turning your ceiling into a patchwork quilt. You’re paying for hands in a dark attic, not for the light.
Retrofit Housings vs New-Construction Housings
This is the fork in the road that decides the install method. And it confuses homeowners far more than it should.
New-construction housings are metal cans nailed to the joists before drywall goes up. They’re used when the ceiling is open, which means new builds, additions, and full gut renovations. The electrician works standing up, in daylight, with every wire run visible. That’s why this is the cheapest per-light scenario.
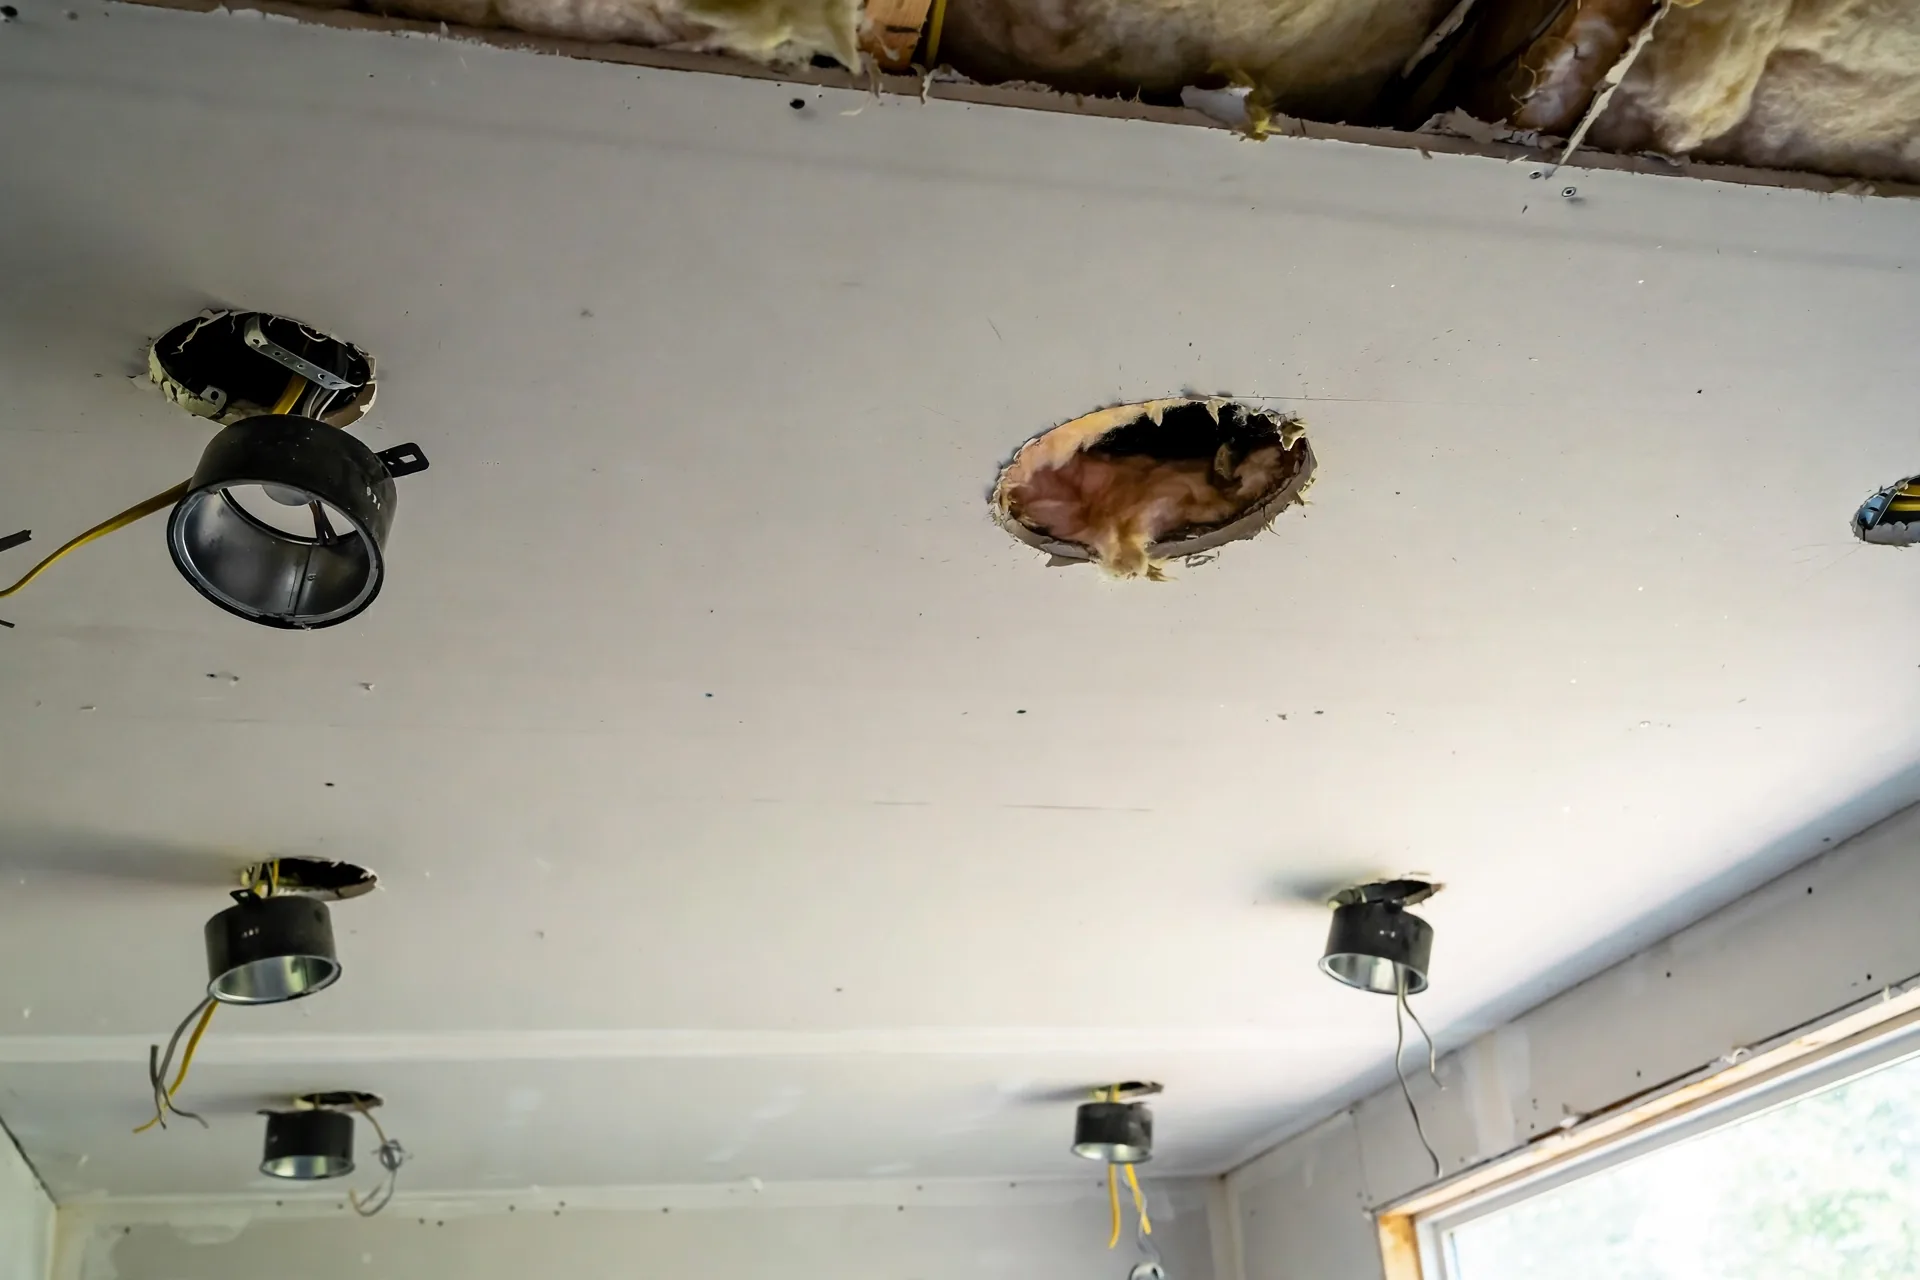
Most of what happens in existing BC homes is retrofit work. It uses remodel housings. Or wafer-thin LED fixtures designed to install from below. The electrician cuts a round hole in the finished ceiling. Reaches in. Fishes wire across the joist bays. Wafer lights, sometimes called canless or slim LEDs, have changed this job in the last few years: they’re about half an inch thick, mount directly to the drywall with spring clips, and need almost no clearance above. For ceilings with tight joist bays or shallow cavities, they’re the easy answer.
Which one you get depends on access, not preference. If there’s an attic above, either works. If there’s a finished floor above, wafer LEDs often save real money, because they need less fishing and less opening of the ceiling. So ask your electrician which type they’re planning to use. And why. The answer tells you something useful: whether they’ve actually thought about your specific ceiling.
The IC Rating Question: Insulation Contact Matters in BC
Now the BC-specific detail that actually matters. It’s also the one most often skipped.
Any pot light with insulation above it has to be IC-rated. In BC, that means nearly every attic. IC stands for insulation contact: the fixture is designed to sit against insulation without overheating. Non-IC housings need a clearance box around them. Kept free of insulation. Which leaves an uninsulated hole in your ceiling. In a Fraser Valley winter, that hole becomes a warm spot. It melts frost unevenly. Invites condensation. And on a thermal camera, it shows up like a beacon.
This is not a theoretical concern. Those big 6-inch cans from the 1990s were often installed without IC ratings in insulated ceilings. Pair that with the heat from old halogen bulbs, and the clearance question turned genuinely dangerous. Modern LED fixtures run far cooler. Most carry the IC rating as standard. But the rating still has to be there. When you’re getting quotes, ask one sentence. Are the fixtures IC-rated for direct insulation contact. If the electrician looks confused by the question, get another quote.
Air sealing matters too. Every pot light punches a hole in your ceiling’s air barrier. A dozen unsealed holes add up to real heat loss. IC-rated LED fixtures with airtight housings keep the warm air where the furnace put it. Seal them at the drywall with caulk or gaskets. In our climate, months of heating season plus driving rain, the airtight detail is worth more than any fixture upgrade.
What Raises the Bill (and What Doesn’t)
The adders. In rough order of how often they blindside people:
A new circuit or panel space. Six to ten LED pot lights draw very little power, a fraction of what old halogens used, so they can usually join an existing lighting circuit. But if your panel is full, or the circuit they need to join is already loaded, you’re looking at panel work. Our electrical panel upgrade cost guide for BC covers what that runs when it becomes necessary.
Old wiring in the way. Knob-and-tube is rare in the Valley. 1970s aluminum wiring is not. Fishing new wire through ceilings with brittle old insulation takes longer. And sometimes it triggers a bigger conversation about the state of the wiring. If the electrician opens the ceiling and finds problems, the pot light job can turn into a rewiring discussion. Fair warning. Our cost to rewire a house in BC guide explains when that conversation is worth having.
Dimmer compatibility. LEDs need LED-compatible dimmers, and not all dimmers play nicely with all fixtures. Budget $120–$200 per switch for a proper dimmer, and have the electrician confirm the specific fixture-dimmer pairing. Flickering pot lights are almost always a dimmer mismatch, and it’s a cheap problem to prevent and an annoying one to fix afterward.
Drywall patching. With no-attic-access retrofits, the electrician may need to open the ceiling in a few spots. Just to fish the wire through. Patching and repainting those spots usually shows up as a separate line item. Or a separate trade entirely. Ask who handles it before the work starts, not after the holes are cut.
One thing that doesn’t raise the bill, within reason: the number of lights. The per-light price already accounts for the count. And electricians often discount slightly on bigger jobs, because the setup time spreads across more openings. Twelve lights rarely cost double what six cost from the same contractor on the same ceiling.
Layout: Where the Lights Actually Go
Cost aside, placement decides whether the money was well spent.
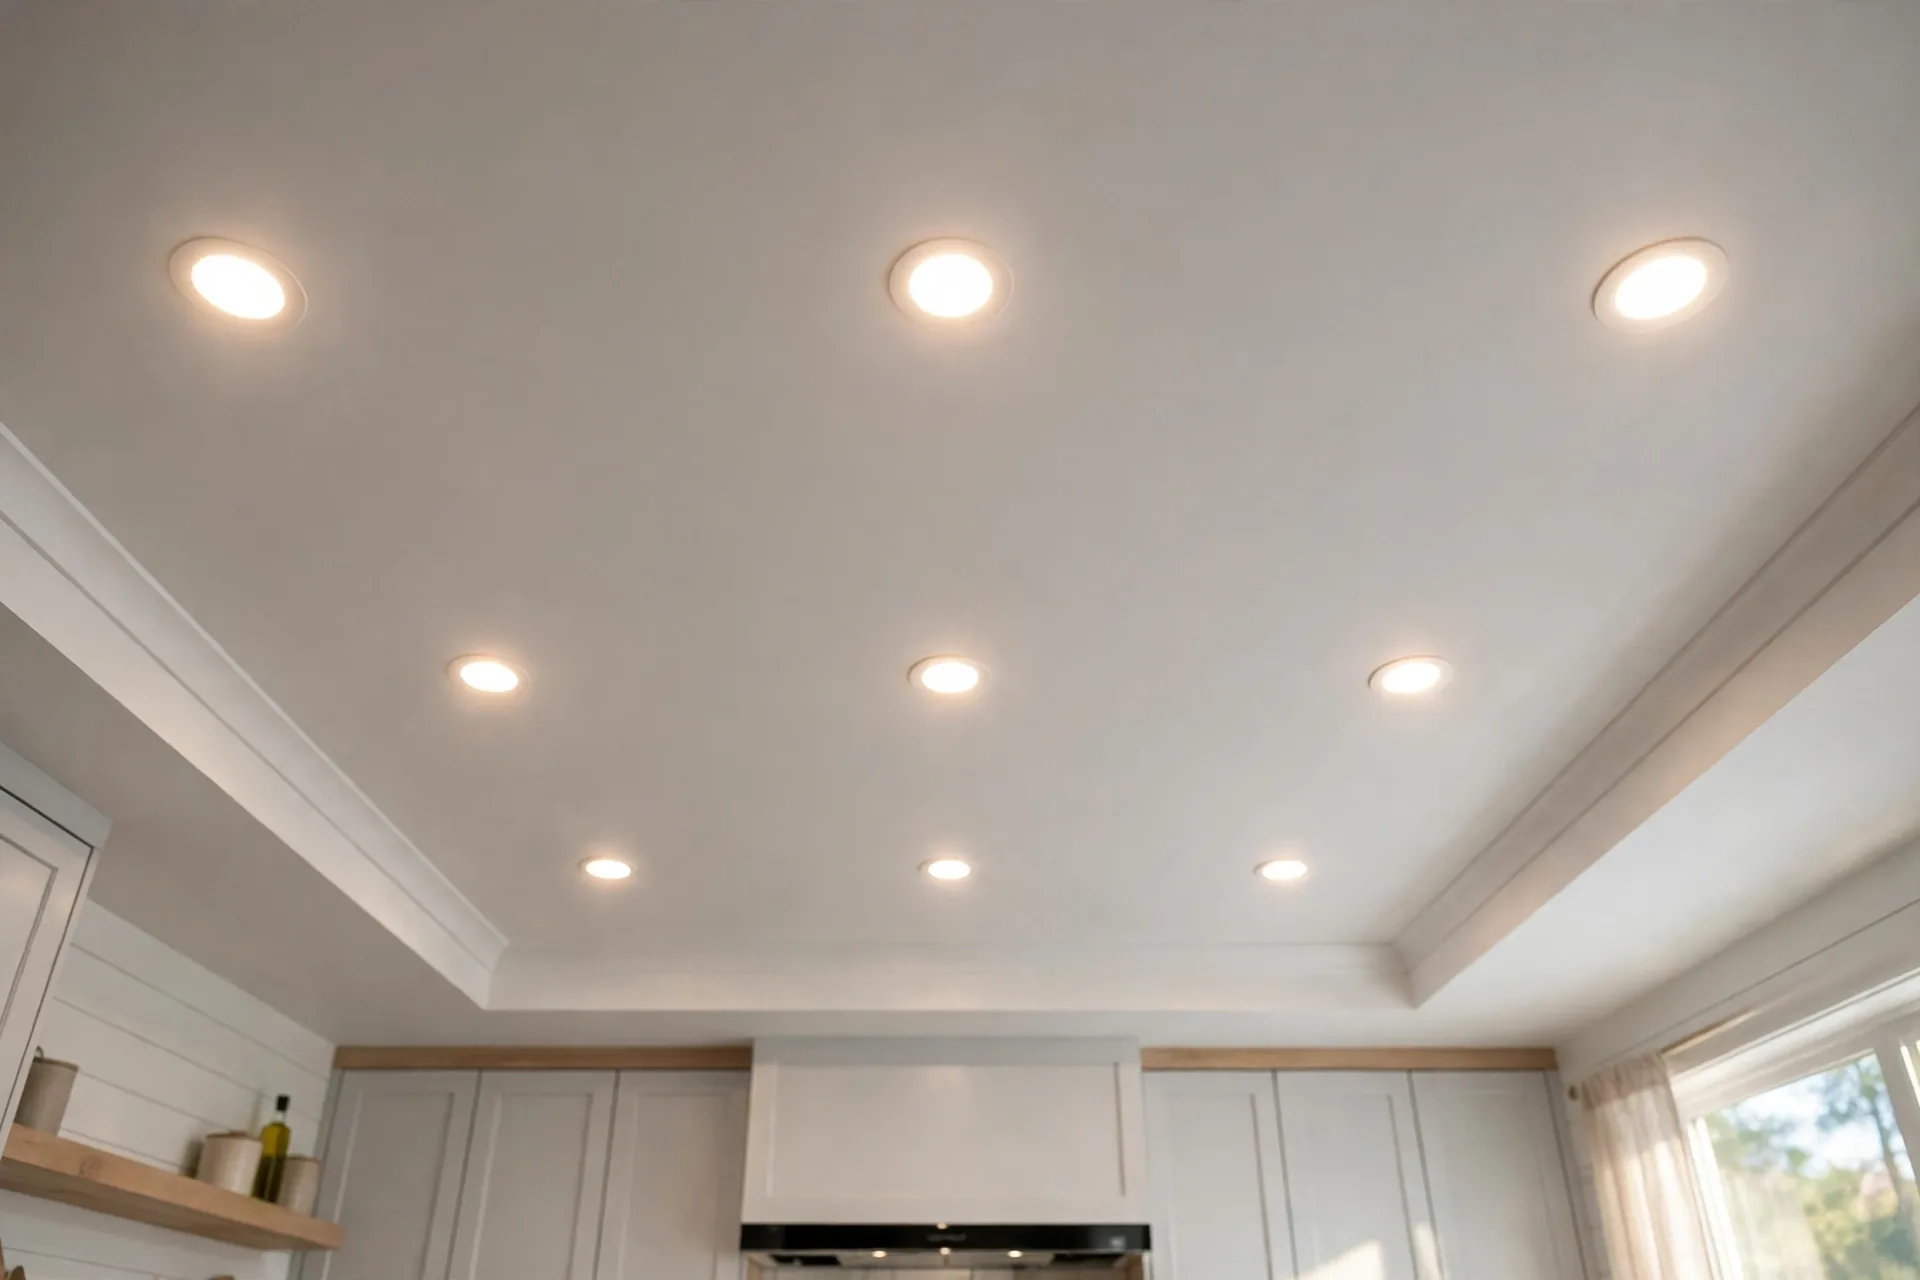
Standard spacing runs about half the ceiling height. On an 8-foot ceiling, that’s lights roughly 4 feet apart, set 2–3 feet off the walls to dodge harsh scalloping. Kitchens want lights over the counters. Not just the middle of the room. So the layout follows the cabinets. Living rooms want even coverage. Without a grid that looks like an airport runway. Bathrooms want a light over the shower, wet-rated, plus flattering light at the mirror. Pot lights alone rarely deliver that second part well.
A good electrician marks the layout on the ceiling with painter’s tape. Before cutting a single hole. Walk the room with them. Then stand where you’ll actually sit and live. This ten-minute conversation costs nothing. It’s the difference between lighting you notice and lighting you just enjoy.
Frequently Asked Questions
How much does it cost to install recessed lighting in BC? For 2026, plan on $150–$250 per light for a standard attic-access retrofit. Difficult retrofits with no attic access run $250–$450 per light. New construction or open ceilings come in at $100–$180 per light. A typical six-light living room? $900–$1,500, with attic access. Dimmer switches add $120–$200 apiece. Planning ranges, not quotes.
Do I need IC-rated pot lights in BC? Yes. Anywhere there’s insulation above the ceiling. IC-rated fixtures are built for direct contact with insulation, no overheating. Non-IC housings need an insulation-free clearance box instead, and that box becomes a cold spot in the ceiling. Most modern LED fixtures carry the IC rating as standard. Still, confirm the rating on your specific fixtures before installation. Older or budget housings sometimes don’t.
Can pot lights be installed without attic access? Usually, yes. Electricians fish wires through the finished ceiling using remodel housings or wafer-thin LED fixtures that mount from below, though it costs more per light ($250–$450) and may require small drywall patches where wire needs to cross joists. Flat roofs are the trickiest case. So are ceilings with a finished floor directly above. Get the electrician eyes-on your specific ceiling before you commit to a per-light price.
How many pot lights do I need in a room? A common rule is spacing of about half the ceiling height, so roughly 4 feet apart for 8-foot ceilings, kept 2–3 feet from walls. A 12-by-16-foot living room typically takes 6–8 lights. Kitchens need extra lights over the counters and the island. General room coverage alone won’t cut it. Have the electrician tape the layout on the ceiling before anyone cuts. Then walk the room, checking it from where you’ll actually sit and stand.
Do LED pot lights work with dimmers? Yes, but only with LED-compatible dimmers matched to the specific fixture. A standard old dimmer will usually cause flickering, buzzing or a limited dimming range with LED pot lights. Budget $120–$200 per switch for the right dimmer, and ask the electrician to confirm the fixture-dimmer pairing in writing. This is the most common post-installation complaint, and it’s entirely preventable.
Planning Pot Lights for Your BC Home?
The ceiling decides the price more than the fixture. So start there. Is there attic access. Is there insulation to work around. And is the panel ready for another circuit. Get the per-light quote in writing, fixture type named. Confirm the IC rating for insulated ceilings. And tape out the layout before anyone cuts a hole. Want a straight read on recessed lighting installation cost BC for your house? Call us at (236) 613-0038. We’ll talk through the ceiling, the count and an honest per-light range.